This year, we discovered an ingenious and cost-effective method to give our starter plants a head start on the growing season. By using jars and tubs as mini greenhouses, we created a warm, protective environment that helped our plants thrive even before the weather fully warmed up. In this post, we’ll share our experience and tips on how to use everyday items like jars and tubs to create mini greenhouses for your garden. This method is perfect for extending your growing season and ensuring your plants get the best start possible.
Why Use Mini Greenhouses?
Mini greenhouses provide several benefits for your starter plants:
Early Start: They create a warm microclimate, allowing you to start your plants earlier in the season.
Frost Protection: Mini greenhouses shield young plants from unexpected late frosts.
Pest Barrier: They offer a physical barrier against pests and insects.
Moisture Retention: Mini greenhouses help retain moisture, reducing the need for frequent watering.
Growth Acceleration: The warmer environment promotes faster germination and growth.
Materials Needed
To create your own mini greenhouses, you’ll need the following materials:
Clear glass jars or plastic tubs
Starter plants or seeds
Raised bed or garden plot
Soil or potting mix
Step-by-Step Guide
Prepare Your Garden Bed: Start by preparing your garden bed or raised bed with rich, well-draining soil. If you’re planting seeds, make sure the soil is loose and free of large clumps.
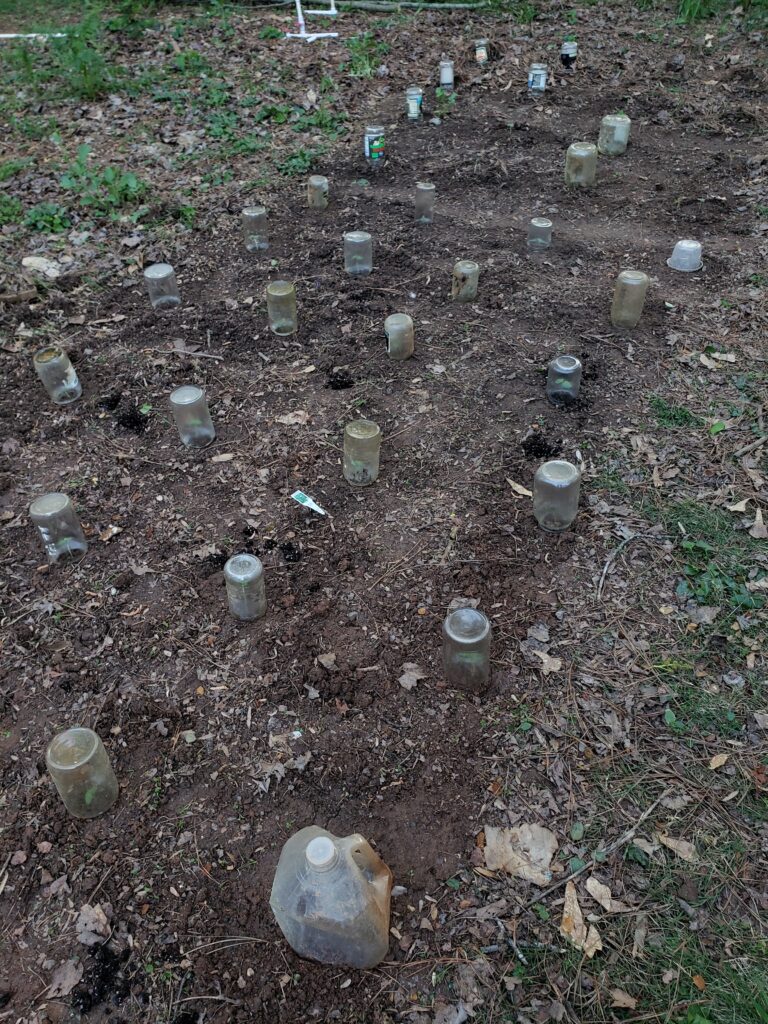
Plant Your Starters or Seeds: Plant your starter plants or seeds in the bed according to their specific planting requirements. Make sure to space them appropriately to give each plant enough room to grow.
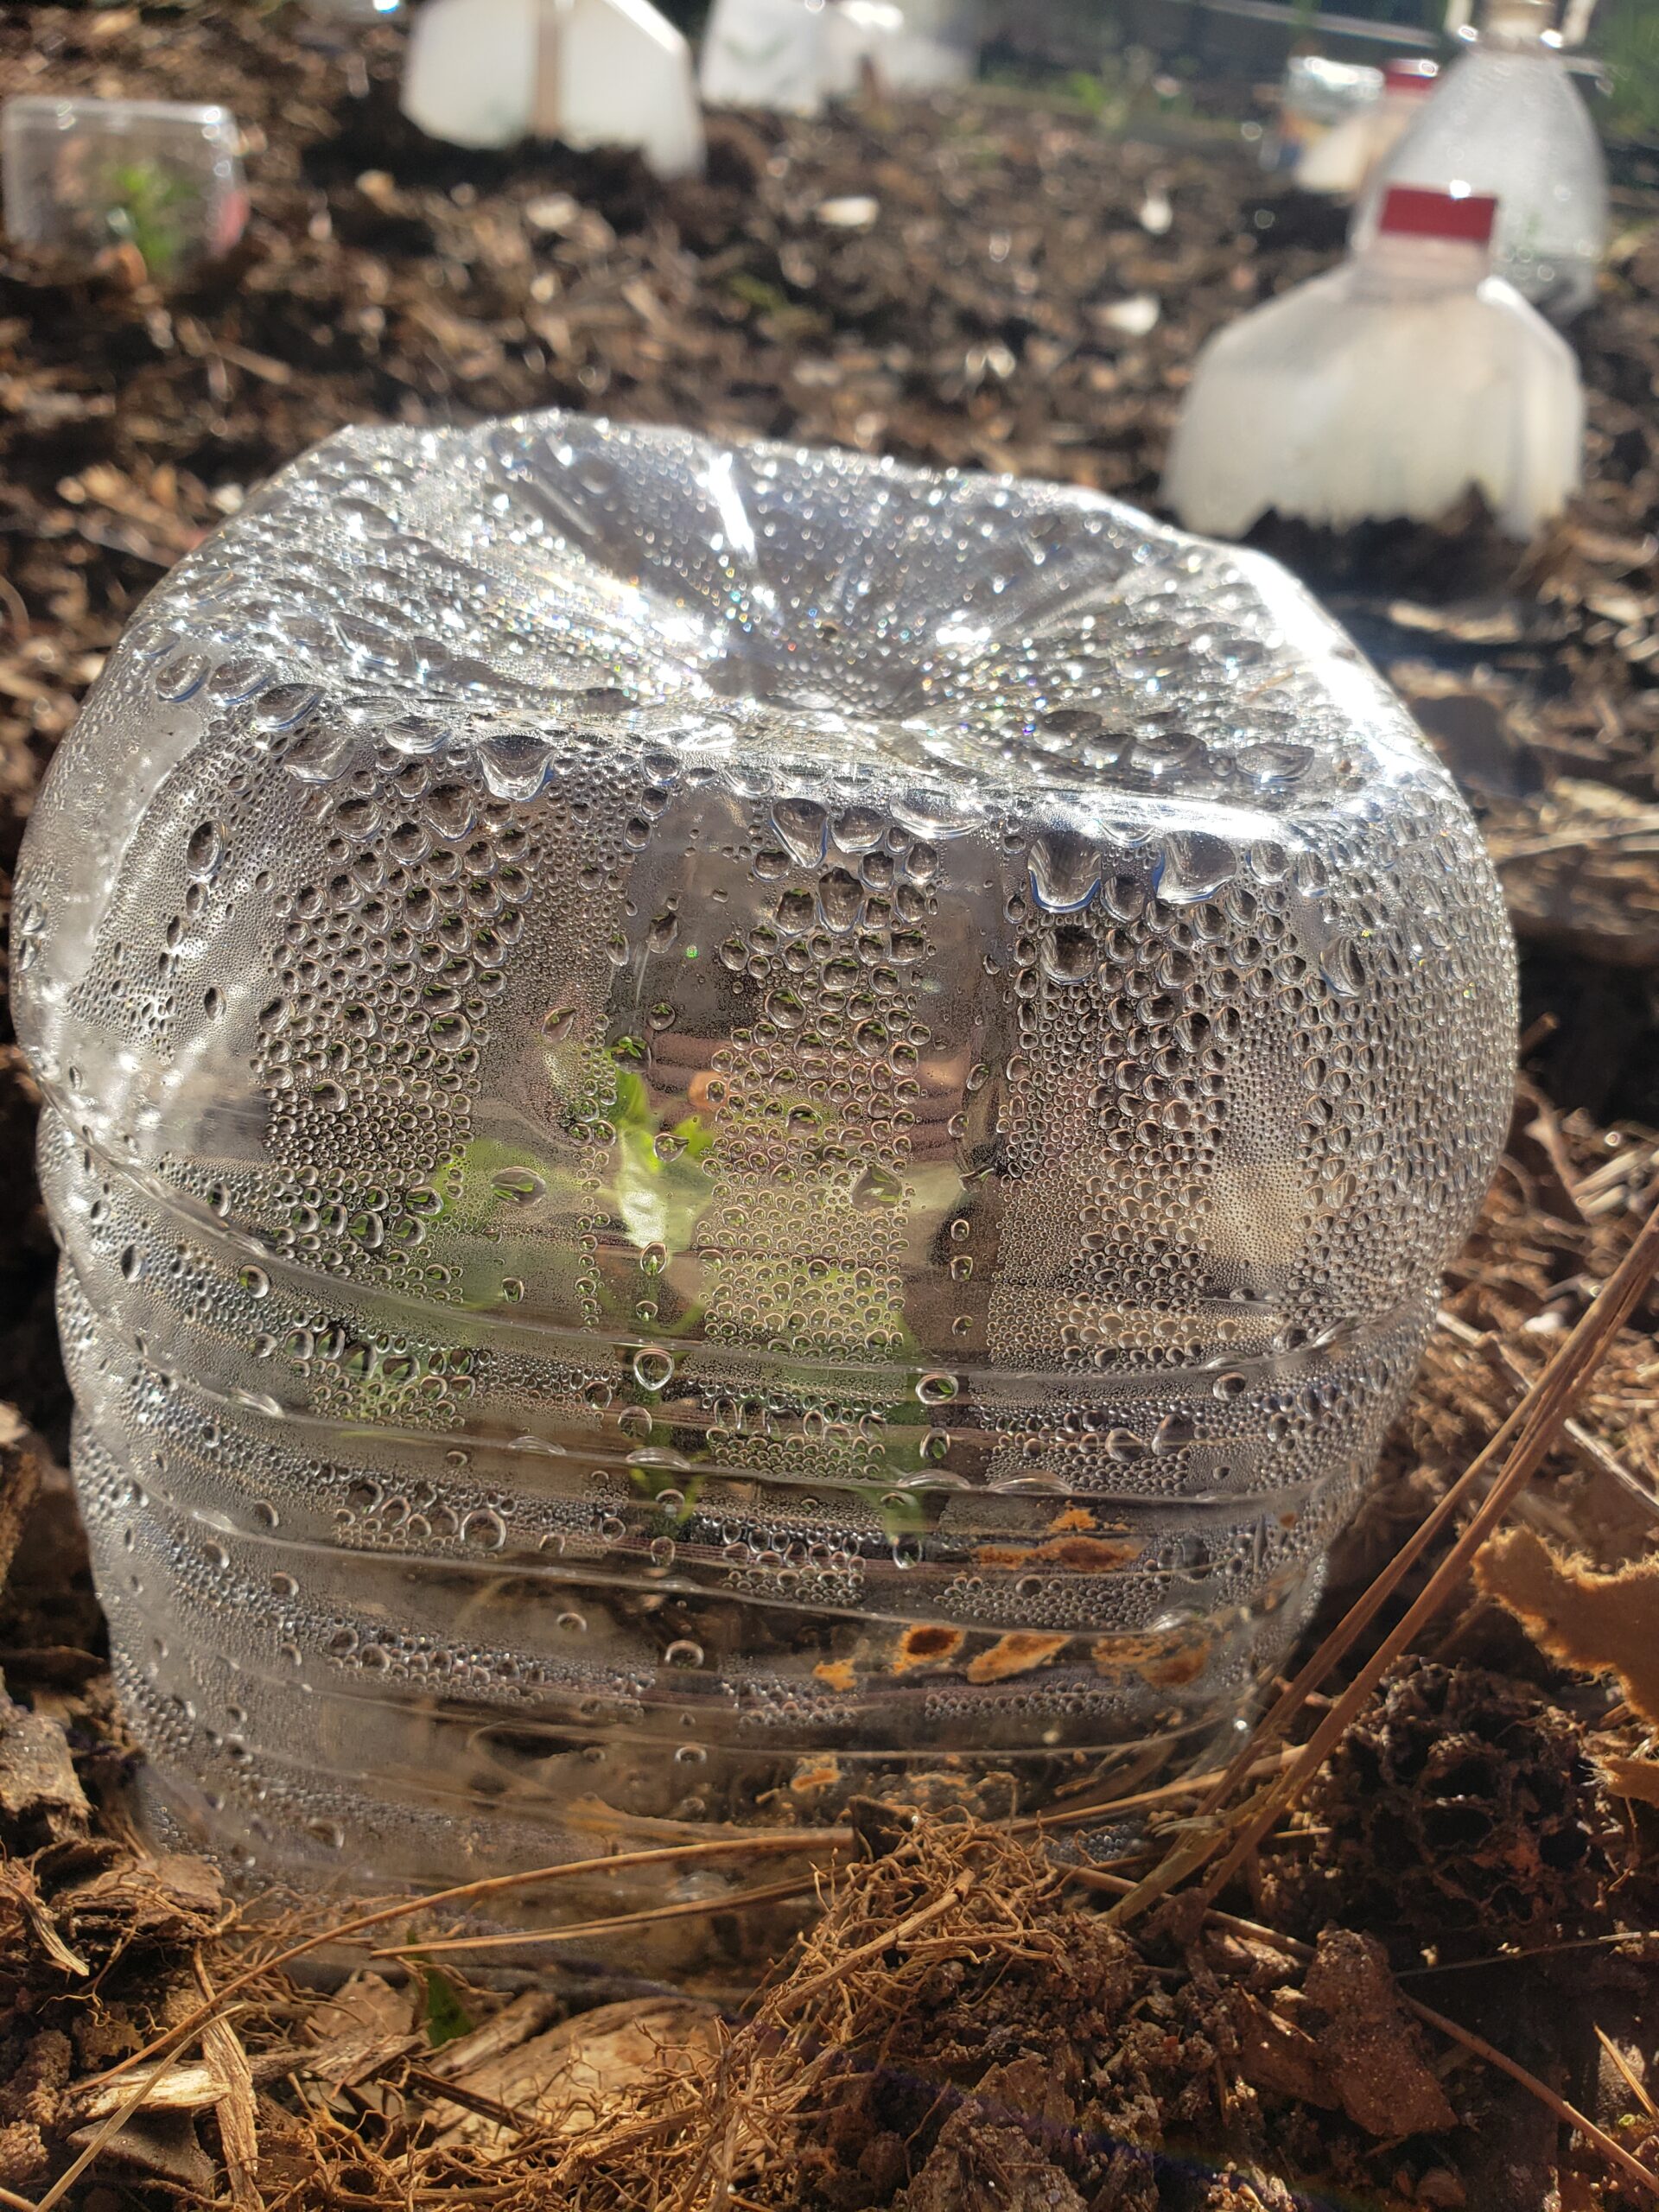
Cover with Jars or Tubs: Place a clear glass jar or plastic tub over each plant or seedling. The jar or tub should be large enough to cover the plant without touching it, creating a mini greenhouse effect. Push the edges of the jar or tub slightly into the soil to secure it in place.
Ventilation: On warmer days, lift the jars or tubs slightly or prop them open with small sticks to allow for ventilation. This prevents overheating and ensures adequate air circulation.
Monitor and Adjust: Keep an eye on the temperature inside the mini greenhouses. If it gets too warm, provide more ventilation or remove the covers during the hottest part of the day. Replace the covers in the evening to retain warmth overnight.
Benefits of Using Jars and Tubs
Cost-Effective: Using jars and tubs is an inexpensive way to create mini greenhouses. You can repurpose items you already have at home, making this method budget-friendly.
Sustainable Gardening: Repurposing jars and tubs reduces waste and promotes sustainable gardening practices.
Ease of Use: Mini greenhouses made from jars and tubs are easy to set up and require minimal maintenance. They can be quickly adjusted or removed as needed.
Versatility: This method works well for a variety of plants, including vegetables, herbs, and flowers. It’s especially useful for plants that need a warm start or are sensitive to cold.
Success Stories from Our Garden
Using jars and tubs as mini greenhouses has yielded impressive results in our garden. Here are a few success stories:
Tomatoes: Our tomato seedlings thrived under the protection of jars, growing strong and healthy before being transplanted to their final spots in the garden. The mini greenhouses shielded them from early spring chills and gave them a strong start.
Peppers: Peppers, which are notoriously slow to start, showed remarkable growth acceleration under the mini greenhouses. The warm environment helped them germinate quickly and develop robust roots.
Herbs: Delicate herbs like basil and cilantro benefited from the controlled environment, staying protected from pests and temperature fluctuations.
Tips for Success
Regular Monitoring: Check your mini greenhouses daily to ensure they are providing the right conditions. Adjust for ventilation and temperature as needed.
Gradual Transition: When the weather consistently warms up, gradually remove the jars and tubs to acclimate the plants to outdoor conditions. This helps prevent shock and ensures a smooth transition.
Watering: Remember that the enclosed environment retains moisture, so adjust your watering schedule accordingly. Be careful not to overwater.
Conclusion
Creating mini greenhouses with jars and tubs is a simple yet effective way to give your garden a head start on the growing season. By providing a warm, protective environment for your starter plants, you can extend your growing season, protect against late frosts, and promote healthier, faster growth. Whether you’re a seasoned gardener or a beginner, this method is a valuable addition to your gardening toolkit.