
Materials You’ll Need
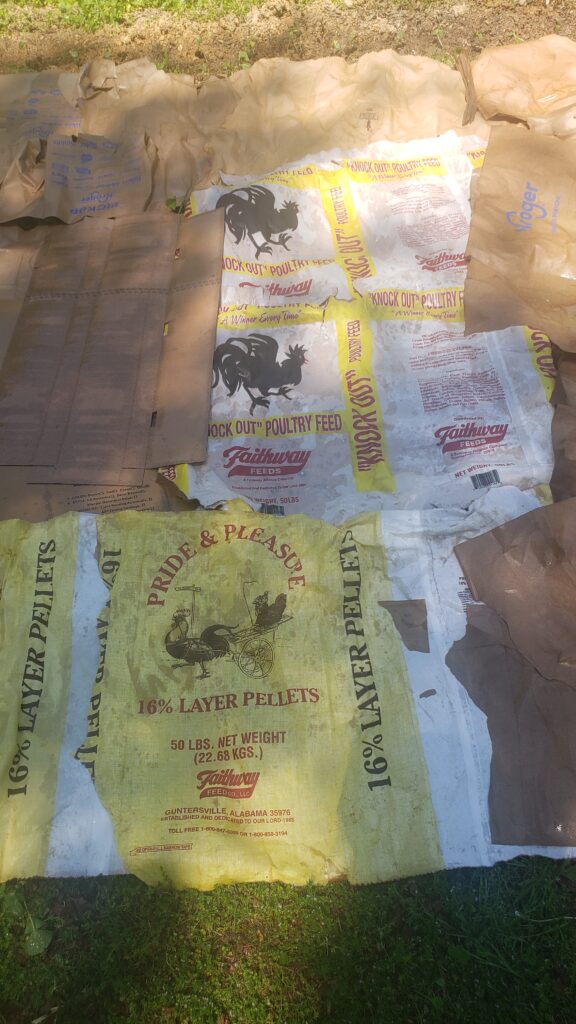
- Cardboard or paper chicken feed bags
- Cow manure compost (optional but recommended)
- Chopped leaf litter for mulch
Step 1: Preparing the Area
Start by selecting the section of your yard you want to convert into a garden plot. In my case, I chose a sunny spot with good drainage. Lay out your cardboard or paper feed bags directly on top of the grass. This layer will smother the grass and prevent weeds from growing through.
Step 2: Laying Down the Cardboard
Cover the entire area with cardboard or paper bags, overlapping the edges to ensure there are no gaps. It’s essential to soak the cardboard thoroughly at this stage. Wet cardboard breaks down faster and helps the compost layer adhere better.
Step 3: Adding Compost

Step 4: Mulching
Step 5: Planting
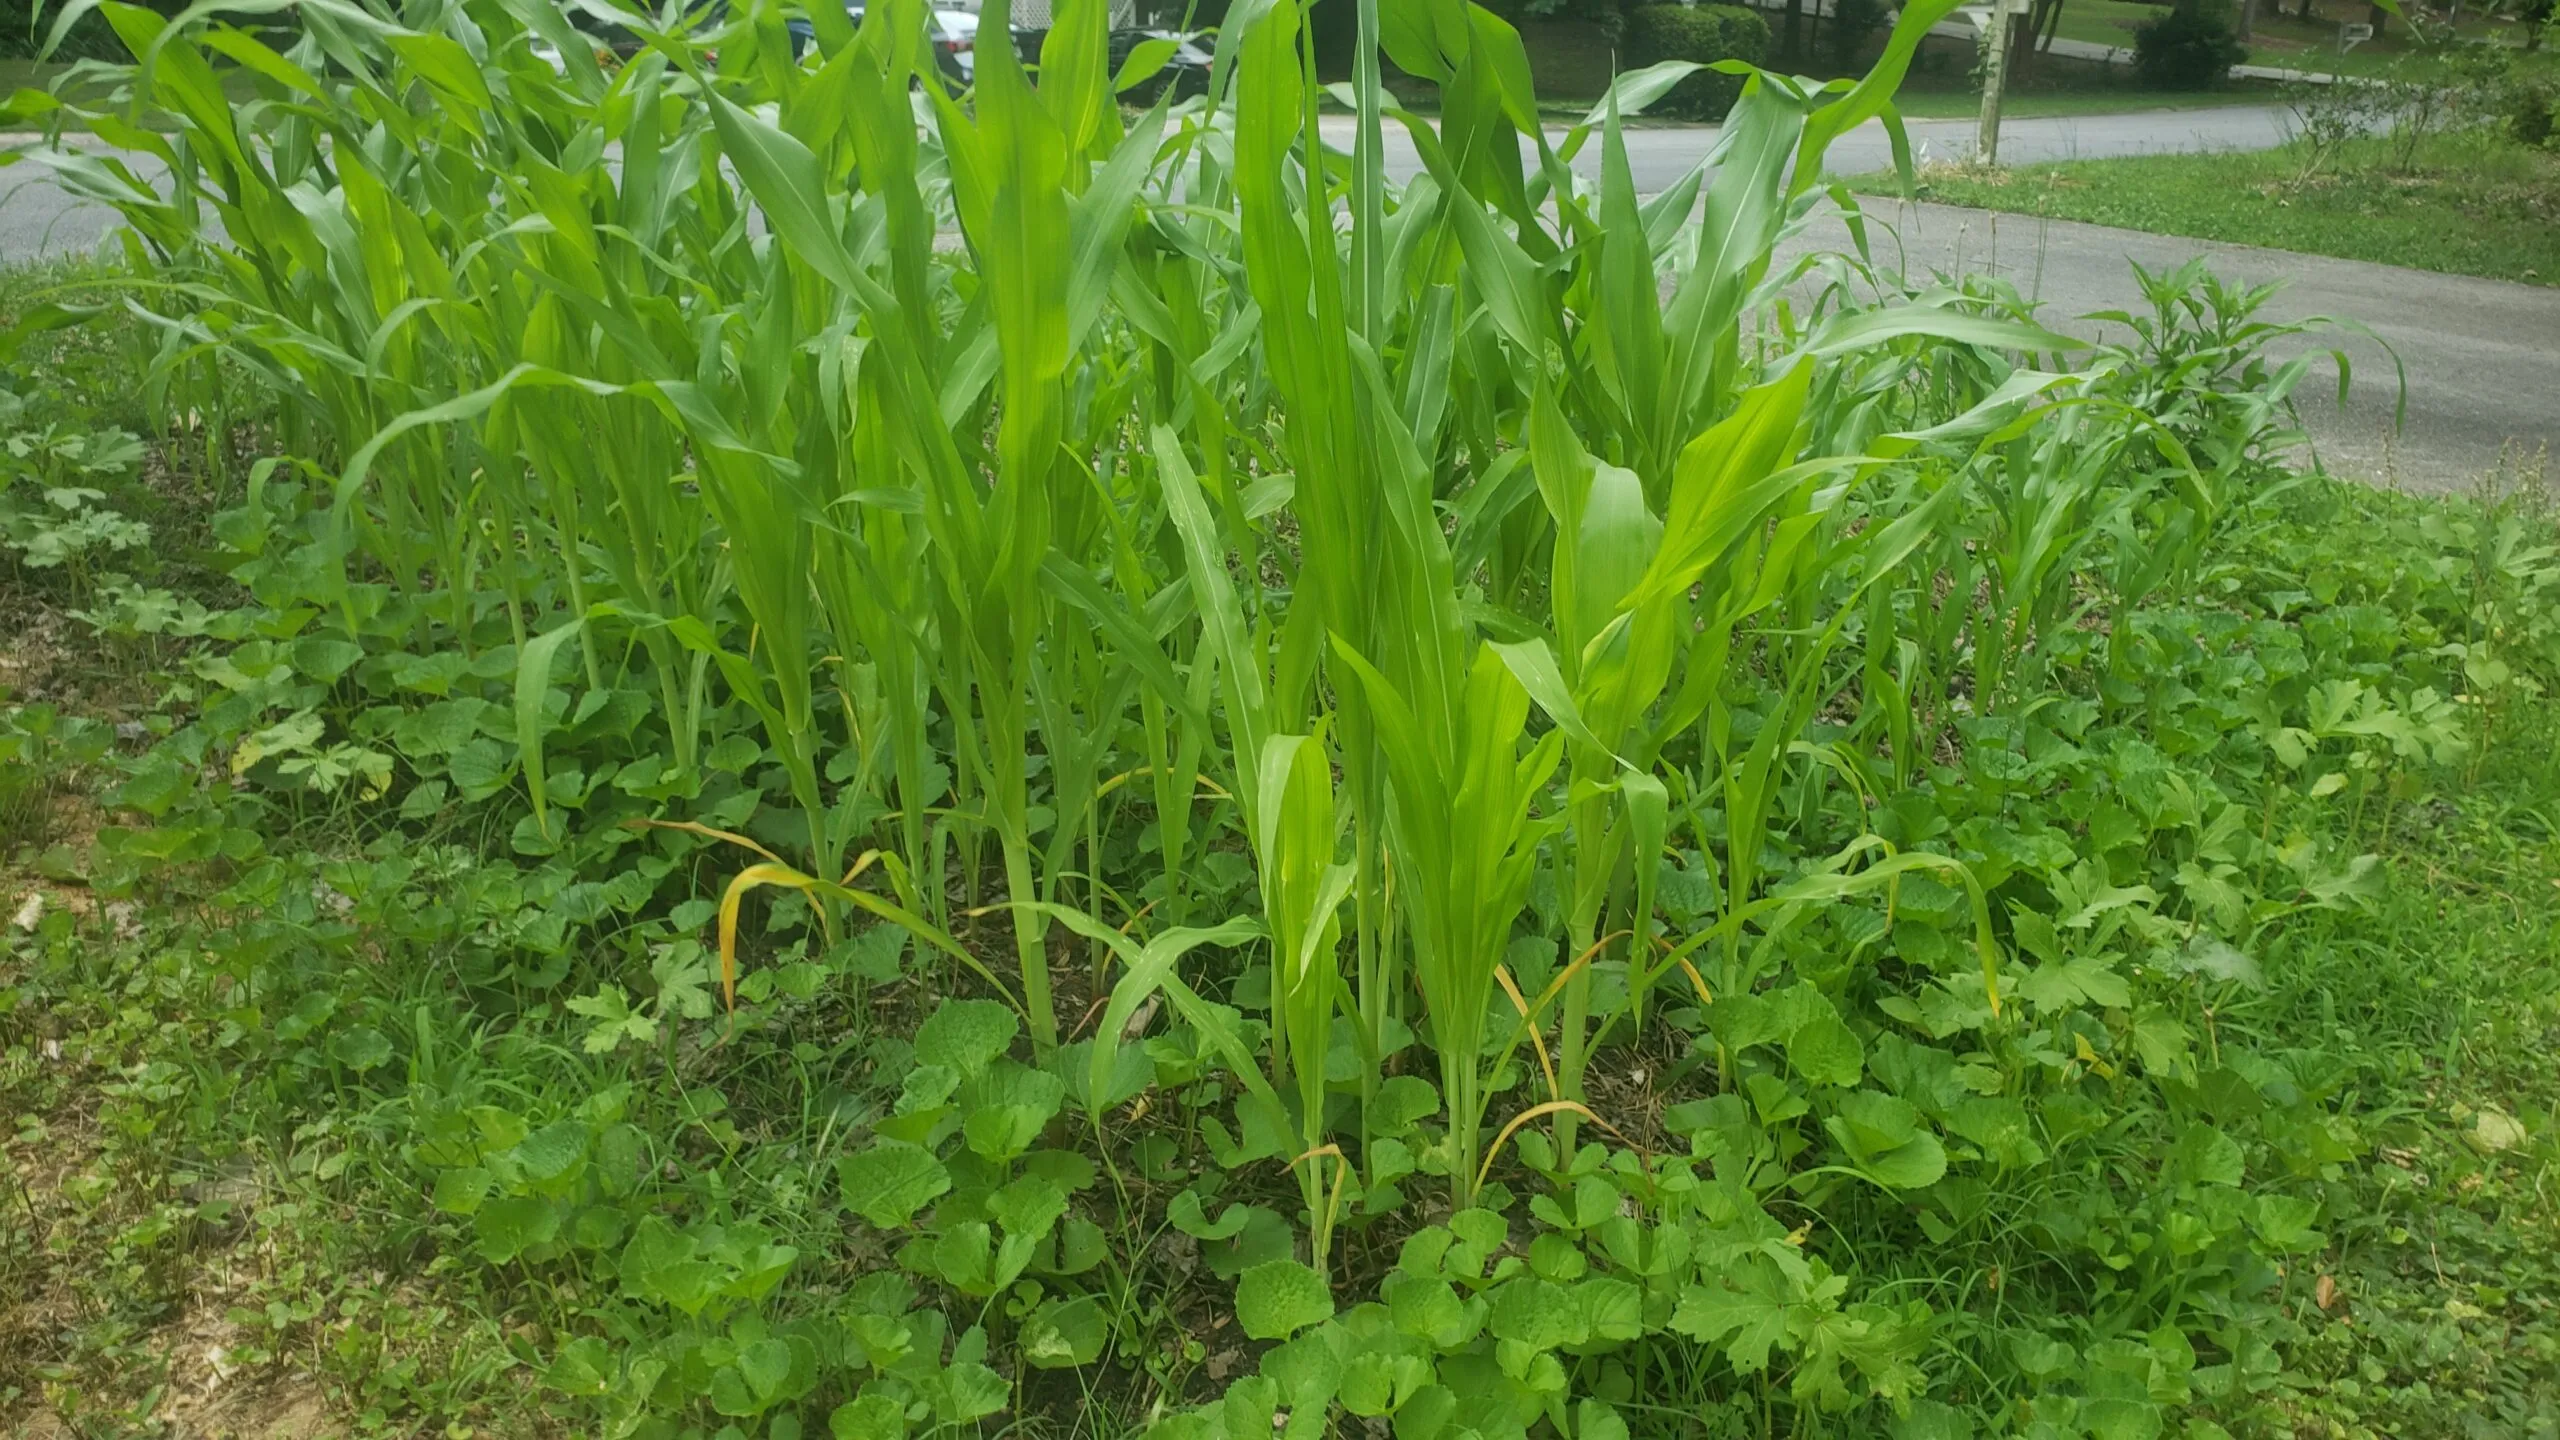
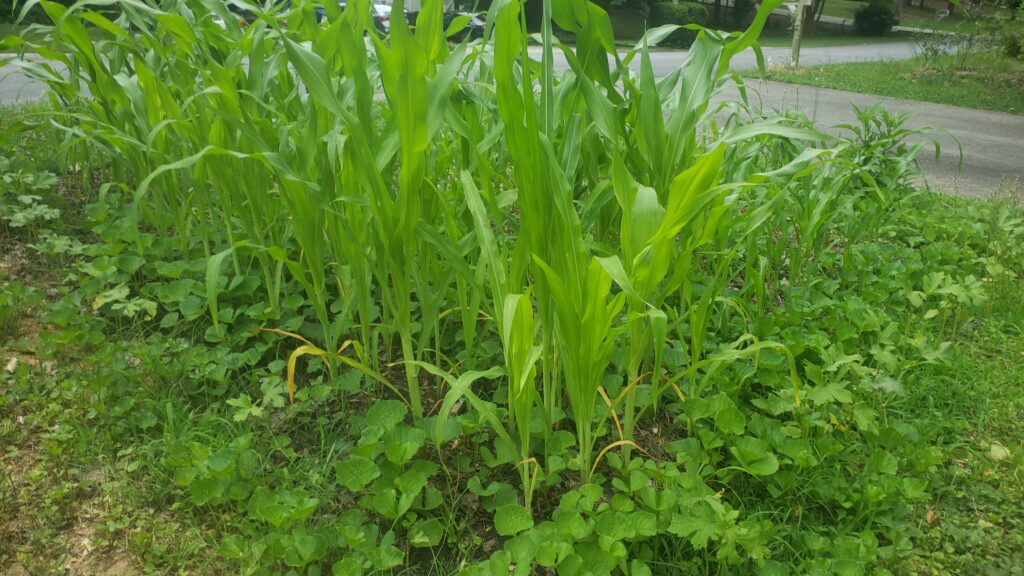
After preparing the bed, it’s time to plant. I decided to grow a Three Sisters plot, which includes corn, beans, and squash (or in my case watermelon). The corn provides a structure for the beans to climb, and the watermelon spreads out to cover the ground, acting as a living mulch.
Step 6: Watering
Give the entire bed a good watering to settle the layers and ensure everything is moist. Keep the bed well-watered, especially during the initial weeks, to help the seeds germinate and the cardboard break down further.
Results and Benefits
After just 2 hours of work, I set up a garden plot that promises a harvest this season. This no-till method has several advantages:
- Soil Health: It preserves the soil structure and promotes beneficial organisms.
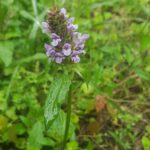
- Weed Control: The cardboard layer effectively suppresses weeds. (you can see plenty of violets poking through, they are edible!)
- Moisture Retention: Mulch helps retain moisture, reducing the need for frequent watering.
Conclusion
Turning a grass section into a food garden plot using this no-till method is a rewarding and sustainable gardening practice. With minimal effort, you can create a productive garden that enhances your soil and supports healthy plant growth. I’m excited to see the results of this plot and look forward to a bountiful harvest and healthier soil going into next season. Give it a try in your own yard and enjoy the benefits of a no-till garden!
Happy gardening!