Okra, also known as ladies’ fingers or gumbo, is a warm-season vegetable known for its edible seed pods. It’s a staple in many Southern dishes and is valued for its versatility and nutritional benefits. Growing okra in your garden is relatively easy, and with the right care, you can enjoy a bountiful harvest. Here’s an in-depth guide on how to grow okra successfully.
1. Understanding Okra Basics
- Botanical Name: Abelmoschus esculentus
- Family: Malvaceae (mallow family, hibiscus)
- Type: Annual
- Climate: Warm-season, frost-sensitive
- Zone: 4-11
2. Choosing the Right Variety
There are several varieties of okra, each with unique characteristics. Some popular varieties include:
- Clemson Spineless: Most common, spineless pods, 50-60 days to maturity.
- Jade: Dark green pods, spineless, 50-60 days to maturity.
- Red Burgundy: Deep red pods, ornamental appeal, 55-60 days to maturity.
- Baby Bubba: Compact plant, suitable for small gardens and containers, 53 days to maturity.
3. Preparing the Soil
Okra thrives in well-drained, fertile soil with a pH between 6.0 and 6.8. Here’s how to prepare your soil:
- Soil Testing: Conduct a soil test to determine pH and nutrient levels.
- Amendments: Add compost or well-rotted manure to improve soil fertility and structure.
We have successfully grown bountiful okra in our clay heavy soil.
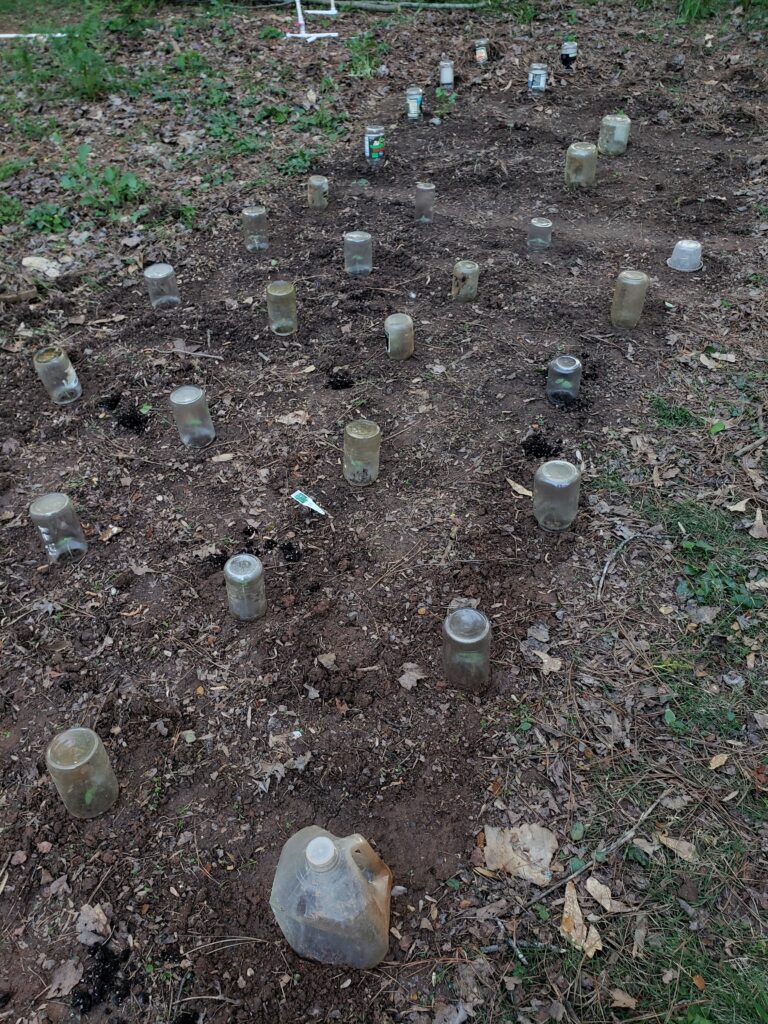
4. Planting Okra
- Timing: Plant okra seeds 2-3 weeks after the last frost date when the soil temperature is at least 65°F (18°C).
- Spacing: Sow seeds 1 inch deep, spaced 3-6 inches apart in rows that are 3 feet apart. Thin seedlings to 6 inches apart once they are 3 inches tall.
- Direct Sowing: Okra seeds can be sown directly into the garden. Soak seeds overnight to speed up germination.
- Transplanting: Okra has a very sensative and vital Taproot that cannot be disturbed. Transplanting is not recommended.
5. Caring for Okra Plants
- Watering: Keep the soil consistently moist but not waterlogged. Water deeply once a week, more often during dry periods.
- Mulching: Apply a layer of mulch around the plants to conserve moisture, suppress weeds, and regulate soil temperature.
- Fertilizing: Side-dress with compost or a balanced fertilizer (10-10-10) when plants are 4-6 inches tall and again at flowering.
6. Managing Pests and Diseases
- Common Pests: Aphids, flea beetles, and stink bugs can be a problem. Use soap or neem oil to control these pests if they get out of hand.
- Diseases: Okra is generally resistant to most diseases but can be affected by fusarium wilt and powdery mildew. Ensure good air circulation and avoid overhead watering to minimize disease risk. Cut off any dying leaves to promote airflow and new growth.
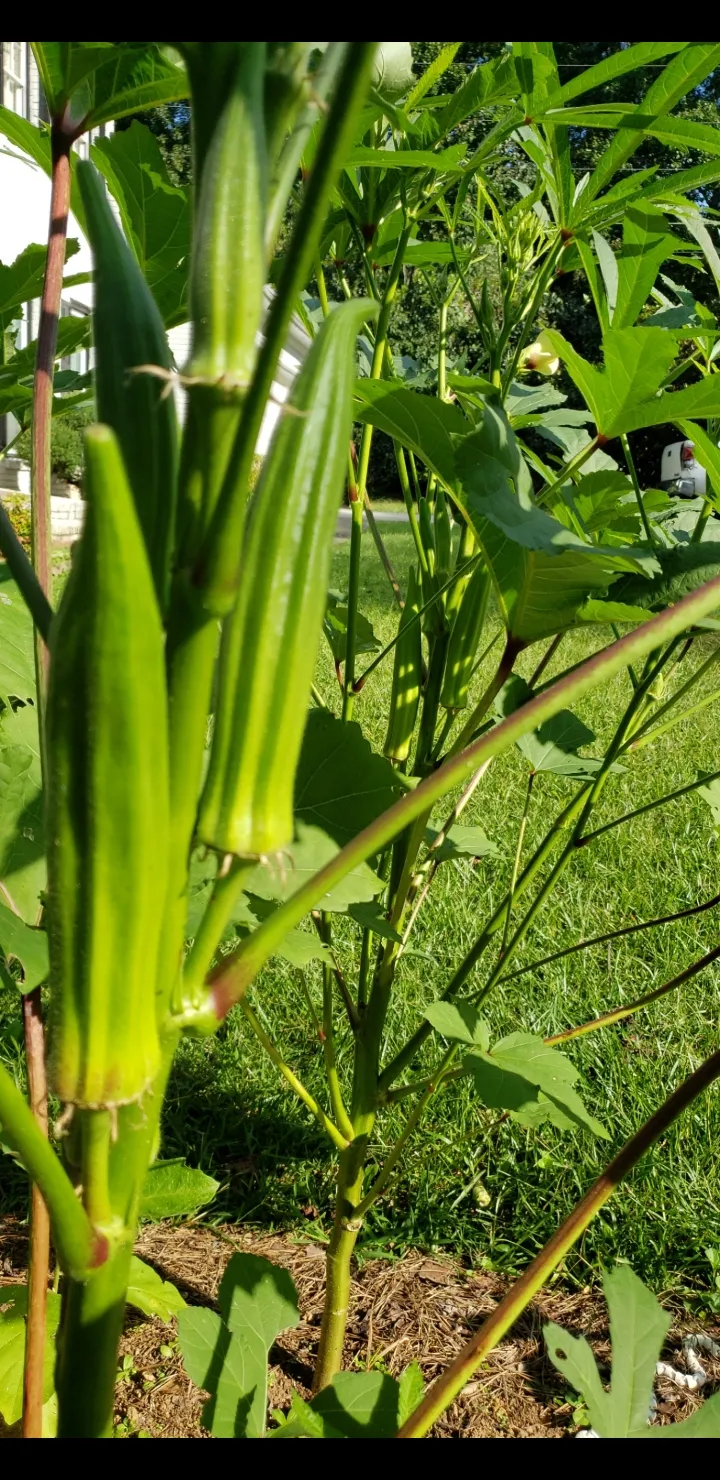
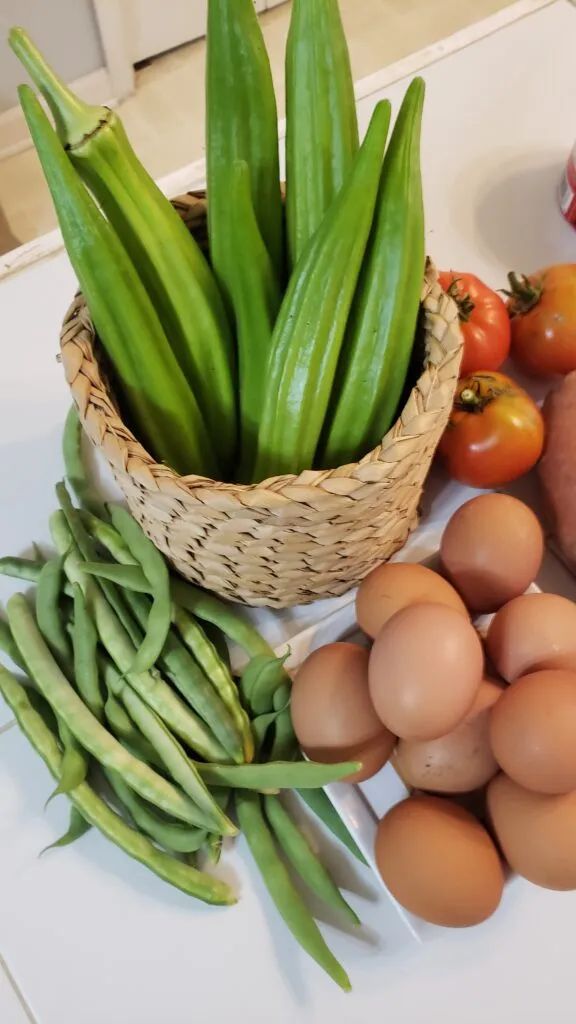
7. Harvesting Okra
- Timing: Harvest okra pods when they are 2-4 inches long, typically 50-60 days after planting. Pods should be tender and easy to cut.
- Frequency: Pick pods every other day to encourage continuous production. Overgrown pods become tough and fibrous.
- Tools: Use pruning shears or a sharp knife to avoid damaging the plant.
8. Post-Harvest Care
- Storage: Store fresh okra in the refrigerator in paper bags for up to a week.
- Preservation: Okra can be frozen, pickled, or dried for long-term storage.
9. Troubleshooting Common Problems
- Slow Growth: Ensure the soil is warm enough and provide adequate water and nutrients.
- Yellowing Leaves: This may indicate a nitrogen deficiency. Side-dress with a nitrogen-rich fertilizer.
Conclusion
Growing okra can be a rewarding experience, providing you with a delicious and nutritious vegetable. By following these steps, you can ensure a successful okra harvest. Happy gardening!
For more gardening tips and updates, visit Good Chicken Gardens and explore our other articles on natural and chemical-free cultivation methods.