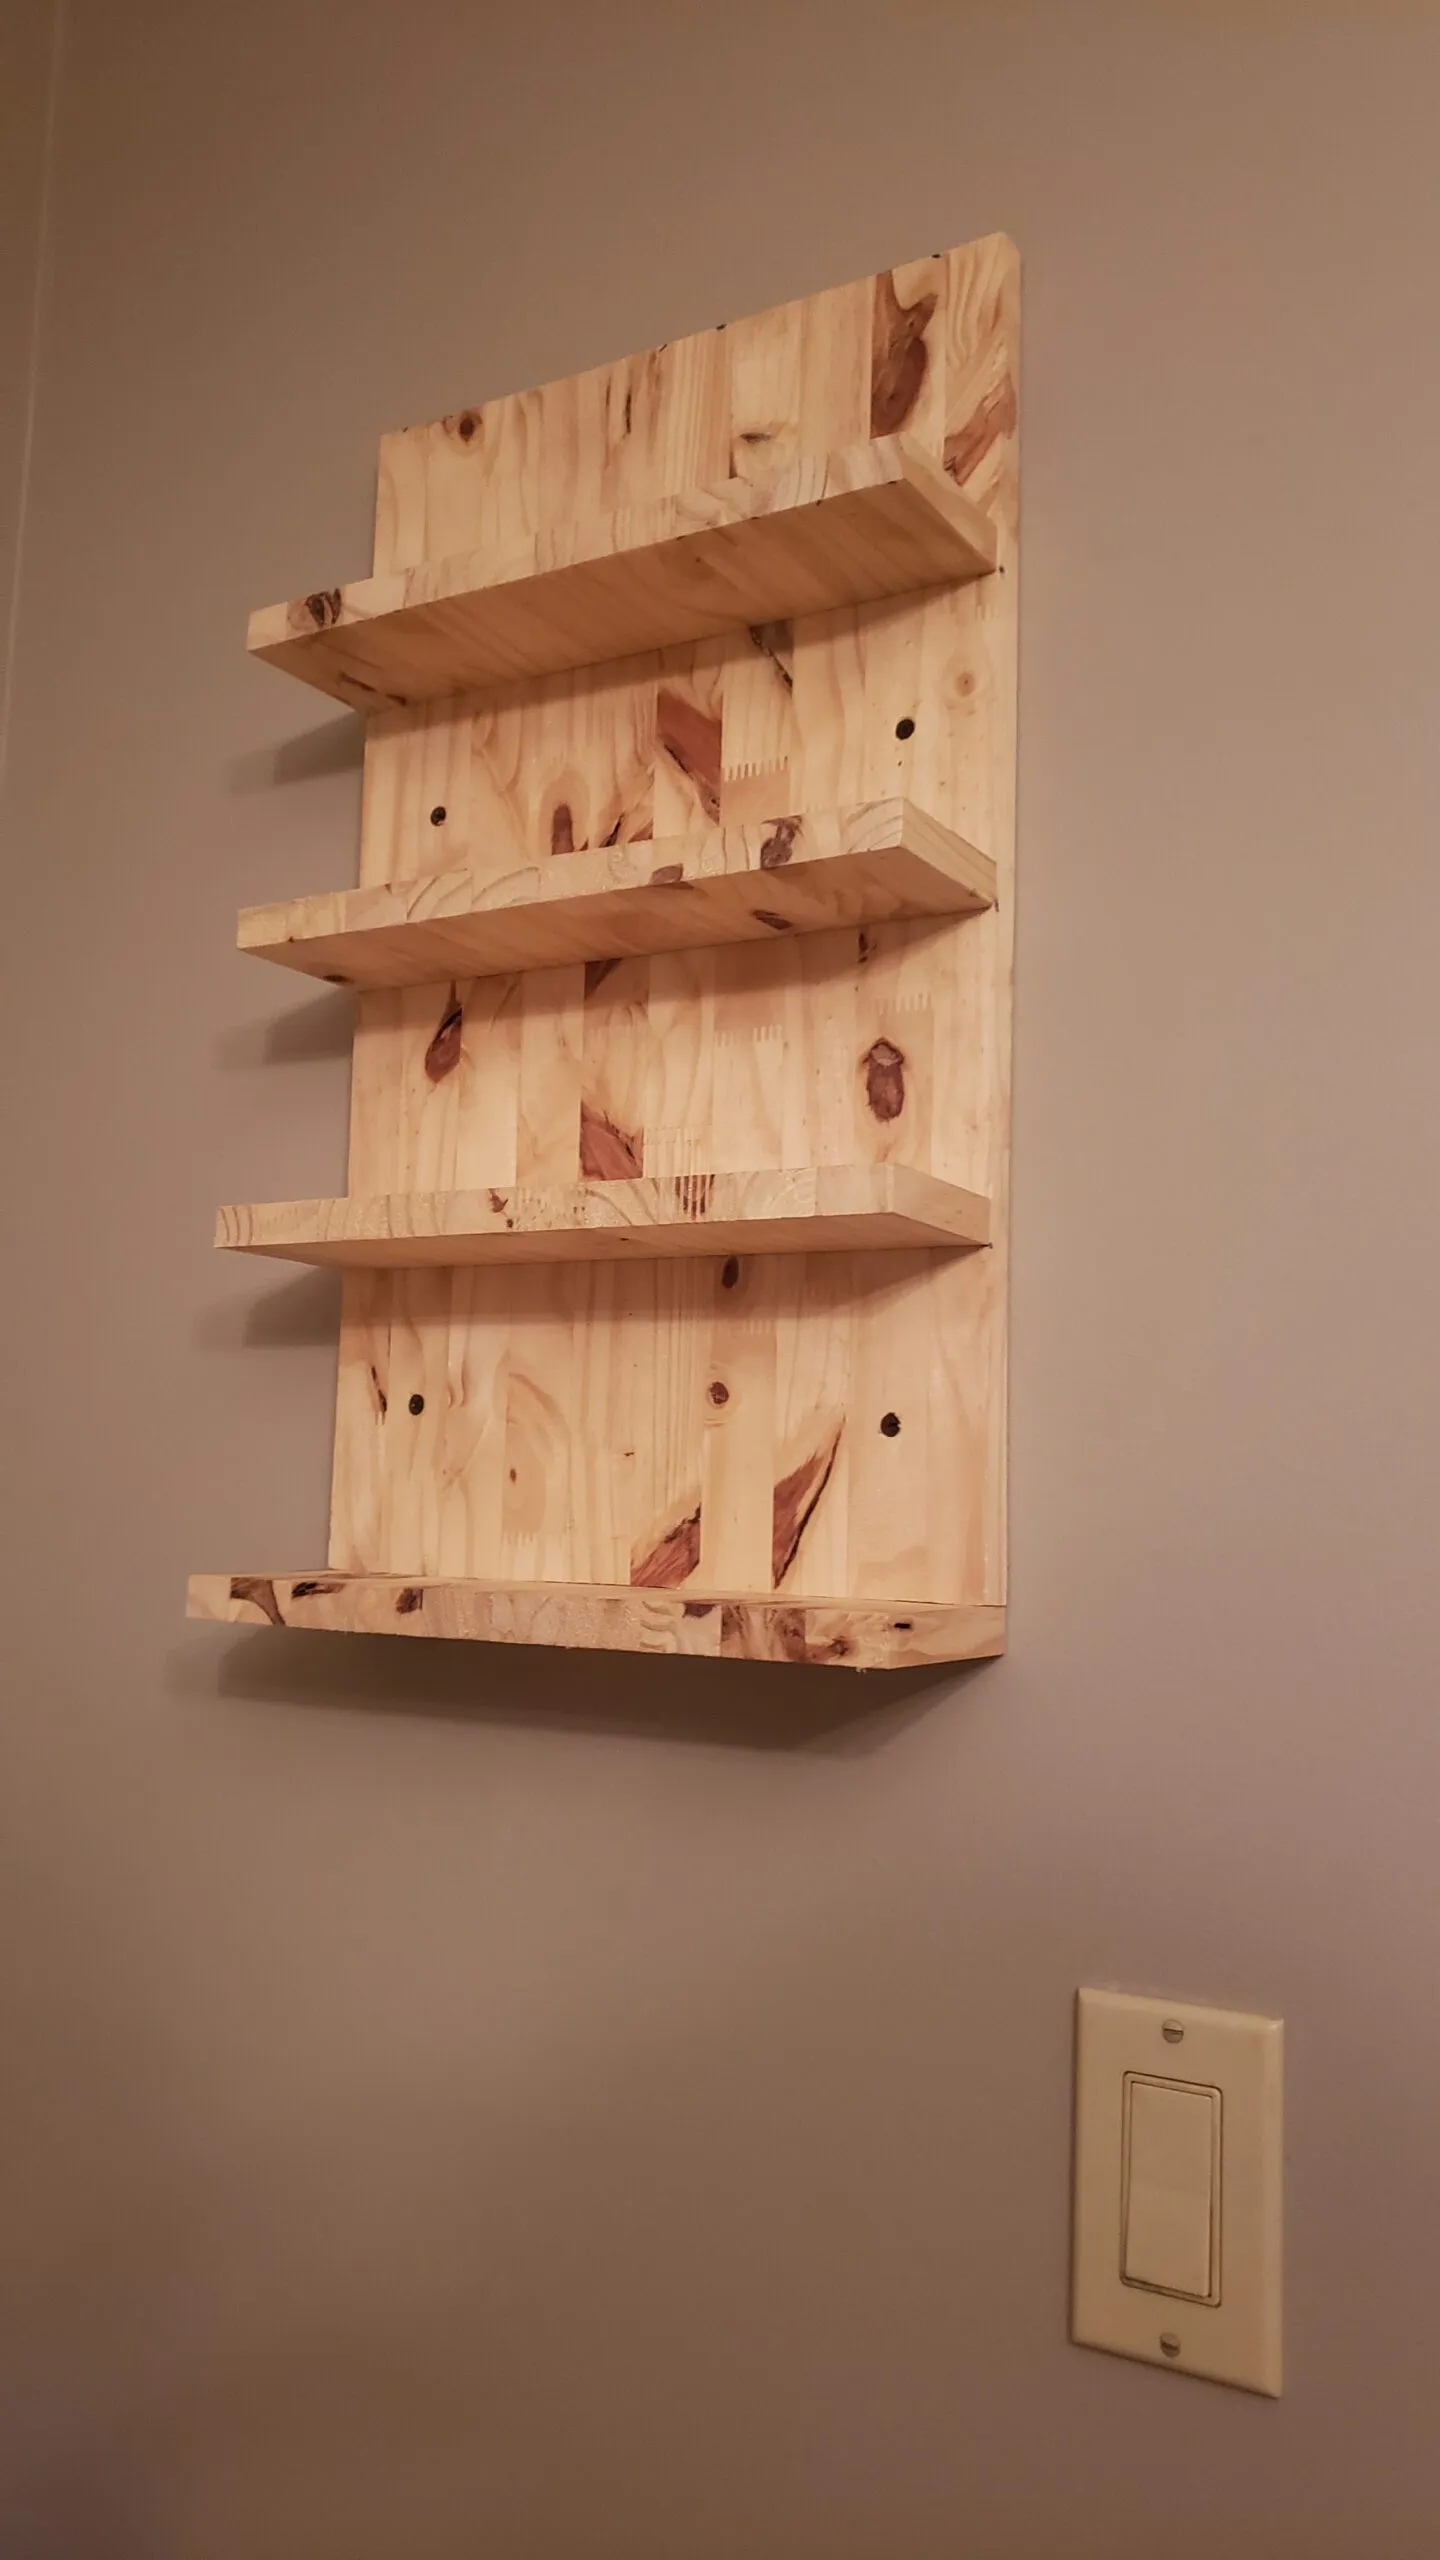
If you’re looking for a practical and stylish way to organize your kitchen jars, building your own shelf is a rewarding and straightforward project. With a simple 4-cut design and the power of Blender for mockups, you can create a custom shelf that fits perfectly in your kitchen. Here’s how we did it.
Measure Your Space: Start by measuring the area where you want to place your shelf. This will help you determine the dimensions of your shelf.
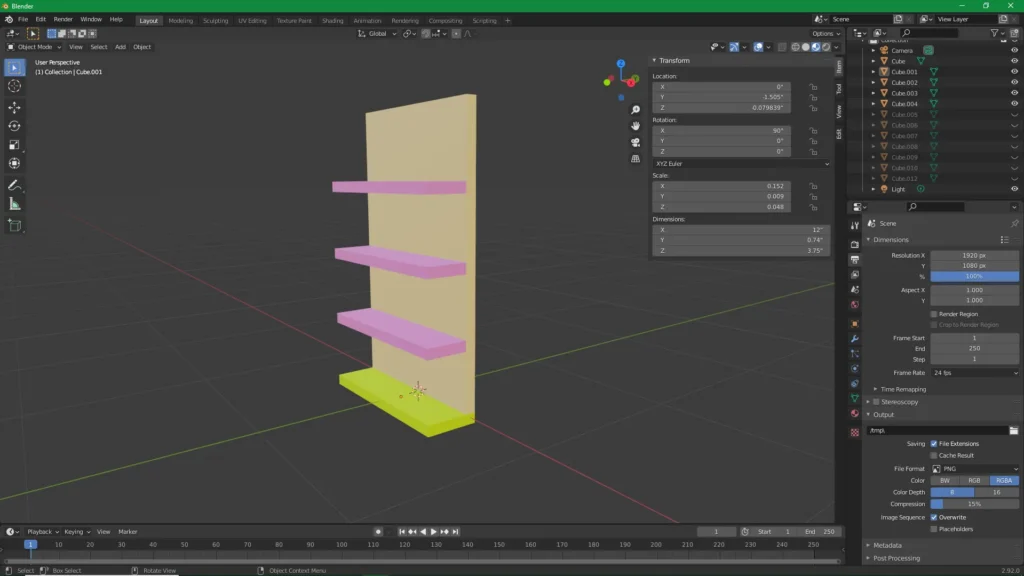
Use Blender for Mockups: Blender, a free and open-source 3D modeling software, is a fantastic tool for visualizing your project before you start cutting any wood. Create a simple mockup of your shelf to ensure it fits your space and meets your needs.
Pro Tip: set the units to imperial to make it really easy!
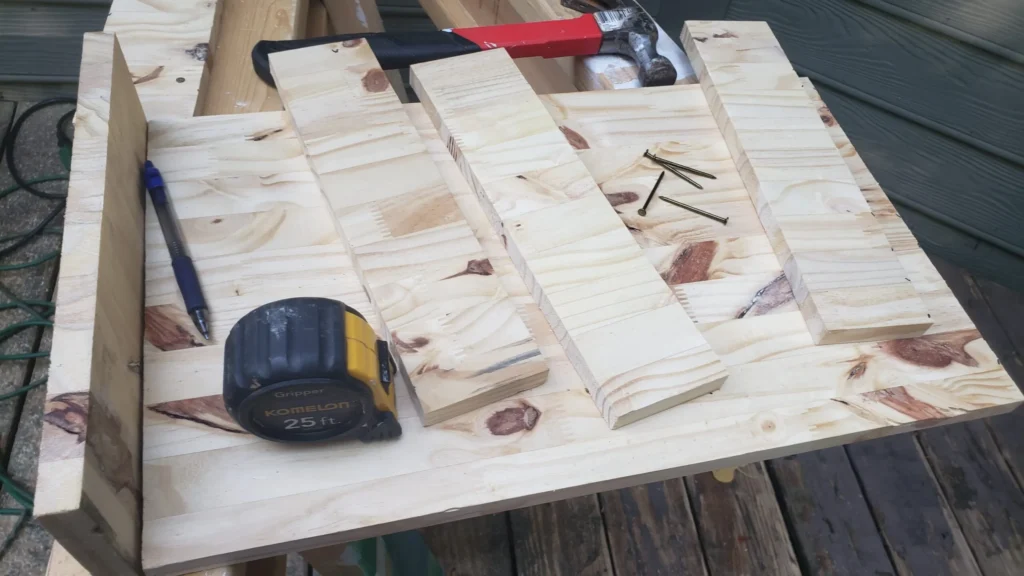
Step 2: Preparing the Wood
Cutting the Boards: Based on your mockup, cut the wooden boards into the following pieces:
Two side pieces (the height of your shelf)
Two horizontal pieces (the width of your shelf)
Sanding: Sand all the cut edges and surfaces to ensure they are smooth and ready for assembly.
Step 3: Assembly
Dry Fit: Before gluing or screwing anything together, do a dry fit of your pieces to ensure everything aligns correctly.
Glue and Screw: Apply wood glue to the edges of the horizontal pieces where they will meet the side pieces. Clamp them in place and use screws or nails to secure the joints.
Reinforcement: For extra stability, you can add additional screws or use corner brackets.
Step 4: Finishing
Sanding: Once the glue is dry, give the entire shelf another sanding to smooth out any rough spots.
Painting or Staining: Apply your choice of paint or stain to match your kitchen decor. Let it dry completely before moving on to installation.
Step 5: Installation
Mounting: Use a level to ensure your shelf is straight, then mark the wall for your screws. Drill pilot holes and use wall anchors if necessary. Secure the shelf to the wall with screws, making sure it’s sturdy and level.
Organize Your Jars: Arrange your kitchen jars on the new shelf, keeping frequently used items within easy reach.
Conclusion:
Building a kitchen jar shelf with this simple 4-cut design is an easy and rewarding project that adds both functionality and charm to your kitchen. Using Blender for mockups allows you to visualize your design and make adjustments before cutting any wood, ensuring a perfect fit for your space. Enjoy your new shelf and the satisfaction of a DIY project well done!